Understanding Dog Wounds: The Basics
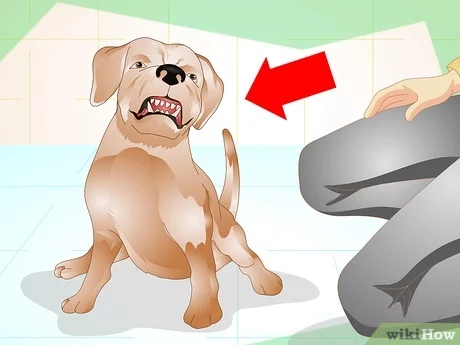
When your beloved canine companion sustains a cut or wound, knowing how to provide proper first aid can make a significant difference in their recovery. Dogs naturally lick their injuries, which veterinarians consistently identify as problematic for the healing process.
According to Dr. Jessica Martinez, DVM, a veterinary emergency specialist with over 15 years of experience, “A dog’s mouth contains numerous bacteria that can contaminate open wounds. When dogs lick their injuries, they not only introduce these bacteria but can also physically disrupt the healing tissue, prolonging recovery time significantly.”
Assessing the Severity of Your Dog’s Wound
Before treatment, it’s essential to determine whether the wound requires professional medical attention or can be safely managed at home.
Dr. Michael Chen, emergency veterinarian at Pacific Animal Hospital, advises, “Pet owners should seek immediate veterinary care for wounds that are deep, heavily bleeding, located near the eyes or joints, or contain embedded foreign objects. Also, puncture wounds—which may appear minor on the surface but can create deep tissue damage—should always be evaluated by a professional.”
Signs that indicate a wound requires veterinary attention include:
- Profuse bleeding that doesn’t stop after 5-10 minutes of direct pressure
- Wounds larger than 1-2 inches in length
- Deep puncture wounds
- Wounds with visible tissue, bone, or muscle
- Wounds on the face, chest, or over joints
- Signs of infection (excessive swelling, pus, foul odor, or increased pain)
- Wounds caused by animal bites
- Any wound in combination with lethargy, fever, or loss of appetite
For minor wounds, home treatment is often appropriate, but monitoring remains crucial.
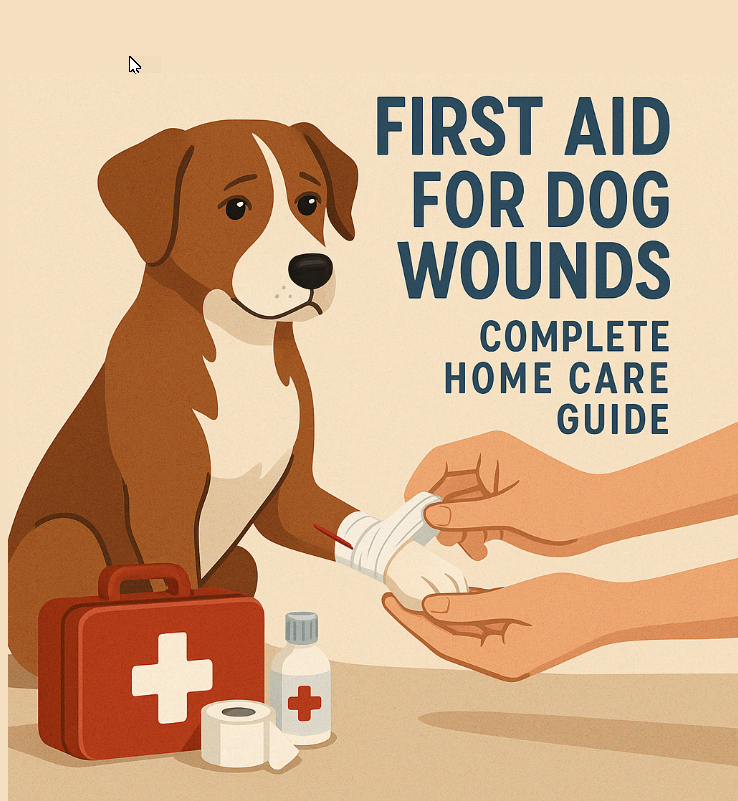
Essential First Aid Supplies for Dog Wounds
According to the American Veterinary Medical Association (AVMA), every pet owner should maintain a basic first aid kit. For wound care specifically, Dr. Laura Wilson, veterinary dermatologist, recommends including:
- Sterile gauze pads (various sizes)
- Non-stick bandages
- Medical tape (paper tape is gentler for dogs with fur)
- Bandage scissors (with blunt tips for safety)
- Pet-safe antiseptic solution (chlorhexidine 2% diluted 50:50 with water)
- Pet-safe antibiotic ointment (without pain relievers that may be toxic to dogs)
- Clean towels
- Saline solution for wound flushing
- Digital thermometer
- Muzzle or gentle restraint device
- Disposable gloves
- Elastic bandage wrap (to secure gauze pads)
“Having these supplies readily available can mean the difference between a simple home treatment and an emergency vet visit,” notes Dr. Wilson.
Step-by-Step Wound Treatment Protocol
1. Safety First: Restraining Your Dog
Even the gentlest dogs may react defensively when in pain. Emily Parker, certified veterinary technician and dog behavior specialist, explains: “Pain can trigger defensive behaviors in any dog, regardless of their normal temperament. Always approach injured dogs with caution.”
For temporary restraint, consider:
- A properly fitted basket muzzle (allows panting but prevents biting)
- Gentle wrapping in a towel for small dogs
- Having a second person hold and comfort the dog
- Using calming techniques like speaking softly and working in a quiet environment
2. Controlling Bleeding
Dr. Robert Thompson, emergency veterinary surgeon, recommends: “Apply firm, direct pressure to actively bleeding wounds using a clean gauze pad or cloth. Maintain consistent pressure for at least 5-10 minutes without constantly checking, as this disrupts clot formation.”
For minor bleeding, elevating the injured area can also help slow blood flow. If bleeding continues after 10-15 minutes of direct pressure, seek immediate veterinary care.
3. Cleaning the Wound
Proper wound cleaning is crucial for preventing infection. The American College of Veterinary Surgeons recommends the following procedure:
- Gently trim fur around the wound using blunt-tipped scissors, being careful not to let hair fall into the wound
- Flush the wound thoroughly with warm saline solution or diluted chlorhexidine
- For debris-filled wounds, use a clean turkey baster or syringe (without needle) to direct the cleaning solution into the wound
- Pat the area dry with clean gauze pads
4. Applying Medication
Once the wound is clean and dry, applying an appropriate medication can help prevent infection.
“For most minor cuts and abrasions, a thin layer of pet-safe antibiotic ointment is sufficient,” advises Dr. Sarah Johnson, veterinary wound care specialist. “Products containing bacitracin or neomycin are generally safe, but avoid those containing pain relievers like benzocaine, as these can be toxic if ingested by dogs.”
For wounds that can’t be easily bandaged, Dr. Johnson suggests, “A diluted povidone-iodine solution (10:1 water to iodine ratio) creates an antiseptic barrier that’s safe if licked in small amounts. The solution should be light tea-colored.”
5. Bandaging Techniques
Proper bandaging serves two crucial purposes: protecting the wound from contamination and preventing the dog from licking or chewing the area.
According to Dr. Chen, “A proper wound bandage consists of three layers: a non-adherent contact layer directly on the wound, an absorbent middle layer to collect drainage, and an outer protective wrap to secure everything in place.”
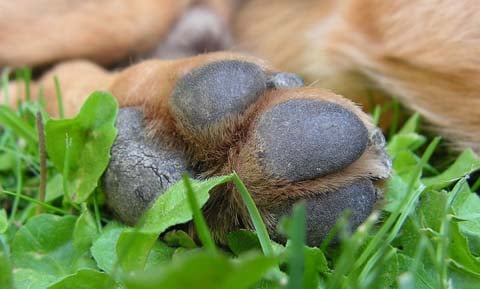
For a paw wound:
- Place a non-stick pad directly over the wound
- Wrap the paw with rolled gauze, being careful to include the area between the toes
- Secure with medical tape or self-adhesive bandage wrap
- Cover with a waterproof outer layer for outdoor bathroom breaks
- Ensure the bandage is snug but not tight—you should be able to slip two fingers under the wrap
Dr. Wilson adds, “Check the toes regularly for swelling, which indicates the bandage is too tight. A properly applied bandage should be changed daily or whenever it becomes wet or dirty.”
Preventing Licking and Monitoring Healing
Preventing dogs from interfering with their wounds is often the biggest challenge in home wound care.
Veterinary behaviorist Dr. Mark Anderson suggests: “Besides bandaging, consider using an Elizabethan collar (E-collar) or one of the more comfortable alternatives like inflatable collars, recovery suits, or commercial anti-lick sleeves.”
For monitoring healing, Dr. Martinez provides this timeline:
- Days 1-2: Wound may appear red and slightly swollen with minimal clear discharge
- Days 3-5: Redness should begin decreasing, with a healthy pink wound bed forming
- Days 5-10: Wound edges should begin contracting, with scab formation for surface wounds
- After 10 days: Most minor wounds should be well on their way to healing, with diminishing scabs
Warning signs that require veterinary attention include:
- Increasing rather than decreasing redness
- Excessive swelling
- Yellow or green discharge
- Foul odor
- Increased pain or heat at the wound site
- Red streaks extending from the wound
- Lethargy or fever
When to Seek Professional Care
While many minor wounds can heal successfully with home care, knowing when to seek professional help is crucial for your dog’s well-being.
Dr. Thompson emphasizes, “Any wound that appears to be worsening rather than improving after 24-48 hours of home care should be evaluated by a veterinarian. Additionally, wounds involving the eyes, face, joints, or reproductive areas should always receive professional attention regardless of severity.”
Conclusion
With proper knowledge and preparation, most dog owners can effectively manage minor wounds at home. The keys to successful wound care include prompt attention, proper cleaning, appropriate bandaging, and diligent monitoring for signs of complications. By following these expert-guided techniques, you can help your canine companion recover quickly while minimizing discomfort.
Remember that when in doubt, consulting with a veterinary professional is always the safest choice for your dog’s health and well-being.